


Article: How to Build Your Own Rock Sliders in Australia: A 7-Step DIY Guide


How to Build Your Own Rock Sliders in Australia: A 7-Step DIY Guide
Quick answer
What are rock sliders?
Rock sliders are strong steel bars that run along the sides of a 4WD, under the doors. When you drive over a rock, the slider hits the rock instead of your car's body. You can build your own in seven steps:
Most guides on how to make rock sliders come from America. They use inches, American cars and American rules. This DIY guide is for Australian 4WDs and 4x4 utes like the Hilux, Patrol, LandCruiser, Ranger, Navara, Triton, D-Max and BT-50. Everything is in millimetres, and it explains the Aussie rules too.
In this article+
Words you'll see in this guide
The strip of your car's body under the doors. This is what sliders protect.
The steel frame under your 4WD. The two long beams are the chassis rails.
Round steel pipe. Sliders are made from it.
A curved cut on the end of a tube, so it fits snugly against another tube.
The short tubes between the top and bottom rails, like rungs on a ladder.
A slider with ends that bend outwards to protect more of the car.
A small dot of weld that holds pieces in place. Easy to grind off if it's wrong.
Going back and welding all the way around every joint.
The part that holds the slider onto the chassis.
A small steel triangle welded into a corner to make it stronger.
Do you need rock sliders?
- Rock sliders protect your sills and the bottom of your doors.
- They attach to the chassis, so they can hold the weight of the car if it drops onto a rock.
- Most side steps can't do that. They're made for climbing in and out.
- If you only drive on bitumen and smooth dirt roads, you probably don't need sliders.
- If you drive rocky tracks, steep rutted hills or tight bush tracks, sliders can save you an expensive repair. A dented sill is hard to fix.
What tools do you need?
What materials do you need?
- Steel tube for the rails. In Australia you buy metric round tube or pipe, often sold by "nominal bore" (NB). Our kits use 32NB mild steel tube: 42.2 mm across the outside, with a 2.6 mm thick wall. Ignore the inch sizes in American guides.
- Short tubes for the infills, the same as the rails.
- Tube for the legs, which go from the slider to the chassis mounts.
- Chassis mount brackets made from thick steel plate. Ours are 5 mm thick.
- High-tensile bolts, nuts and washers. Ours are M12, grade 8.8, 200 mm long, with nyloc nuts that resist shaking loose.
- Gussets, to strengthen the joint between the legs and the mounts.
- End caps, welded over any open tube ends and ground smooth.
- Welding wire and gas (or gasless wire).
- Paint: primer and topcoat, two-pack, or powder coat.
Building from scratch takes more tools and time. Here's how it compares to a pre-cut, weld-together rock slider kit:
Step 1
How do you plan your rock sliders?
Get under your 4WD with a torch before you cut or weld anything.
- Measure the length. Measure along the sill, from the front wheel arch to the back wheel arch. The slider has to fit between the wheels with a little gap at each end.
- Pick a shape. A straight slider (standard) sits close to the body. A kickout sticks out more at the ends and can also be used as a step. On our kits, standard designs are 185 mm wide and kickouts are 237 mm wide.
- Find your mount spots. Look along each chassis rail. Note anything in the way: body mounts, fuel lines, brake lines and exhaust hangers. On a GU Patrol, for example, a body mount sits right where you'd want the front slider mount.

Step 2
How do you lay out the tube?
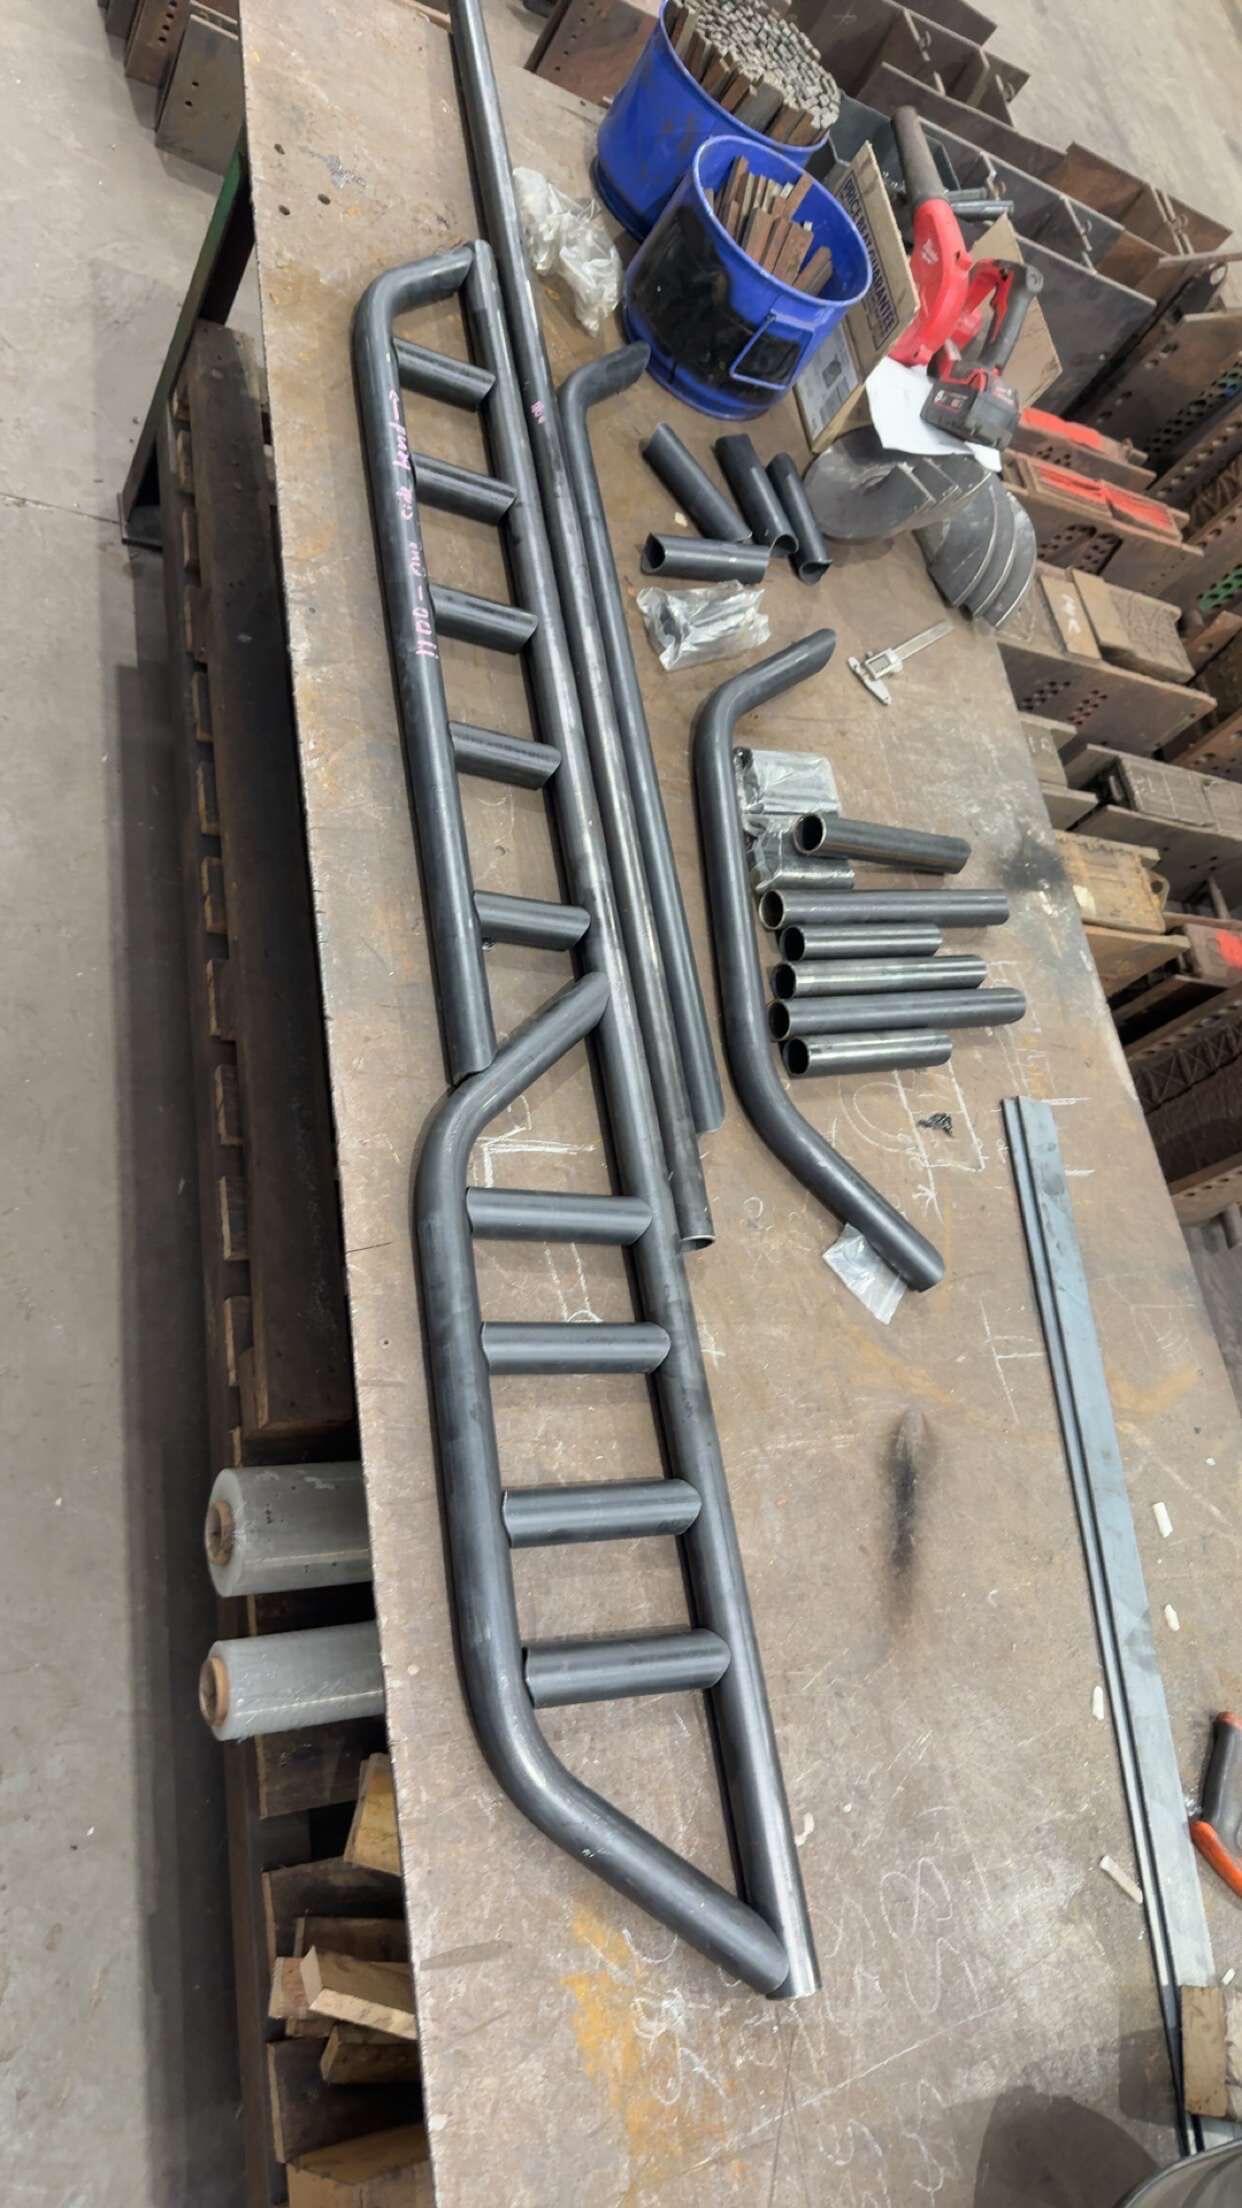
- Lay every piece out on a flat bench or flat concrete, in the shape of the slider.
- If your tube is already notched, the notches show where each piece goes.
- Sort out the left side and the right side before you start welding.
YouTuber Grouse4x4 built a set for his Patrol and summed it up: "So it's like a jigsaw puzzle."
Step 3
How do you tack rock sliders together?
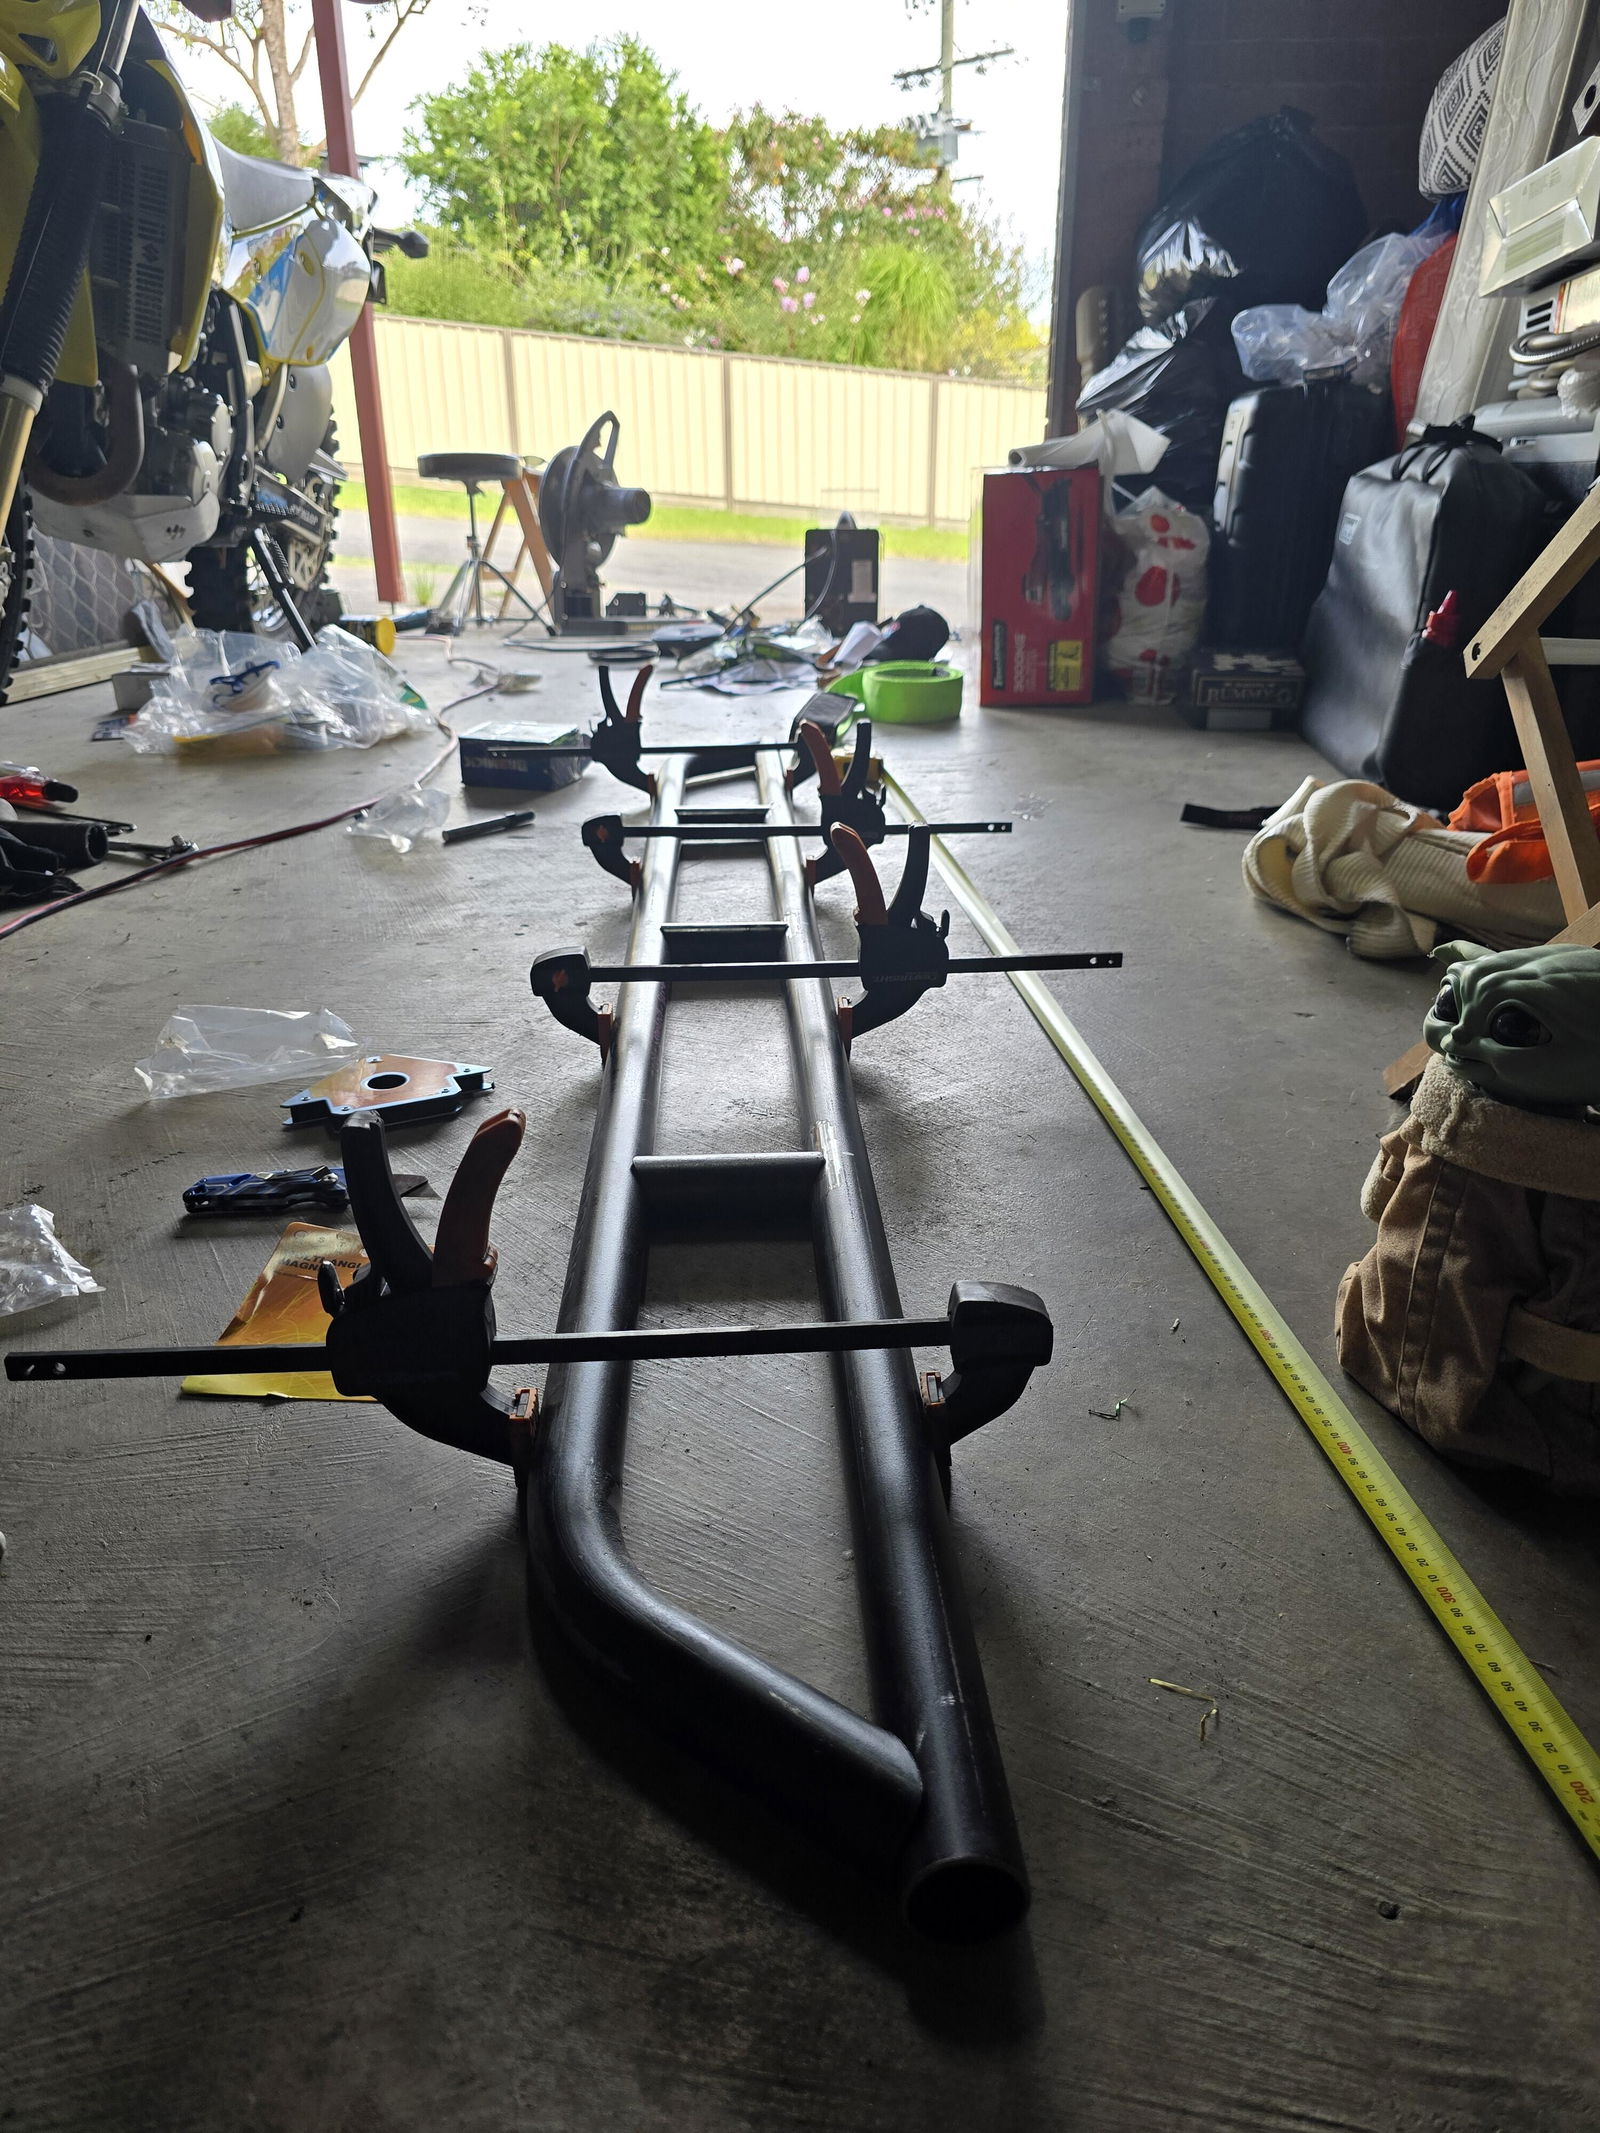
- Tack the outside frame first: the top rail, the bottom rail and the ends.
- Leave the small infill tubes out for now.
- Measure across both ends. If they match, your frame is square.
- Measure the gap inside the frame and divide it by the number of spaces you want. That tells you where each infill goes, so they're evenly spaced.
- Tack the infills in at the top and bottom.
Tip: Only tack at this stage. If something is wrong, a tack is easy to grind off and redo. Tarah Shelley found this out on her 105 Series LandCruiser. She put one piece in the wrong spot, but it was an easy fix because it was only tacked.
Here's her whole build:
Step 4
How do you weld out the sliders?
- Check every measurement one more time.
- Weld a little bit at a time. Swap between ends and sides. Heat can bend the frame if you weld one area for too long.
- Clamp the frame to your bench if you can.
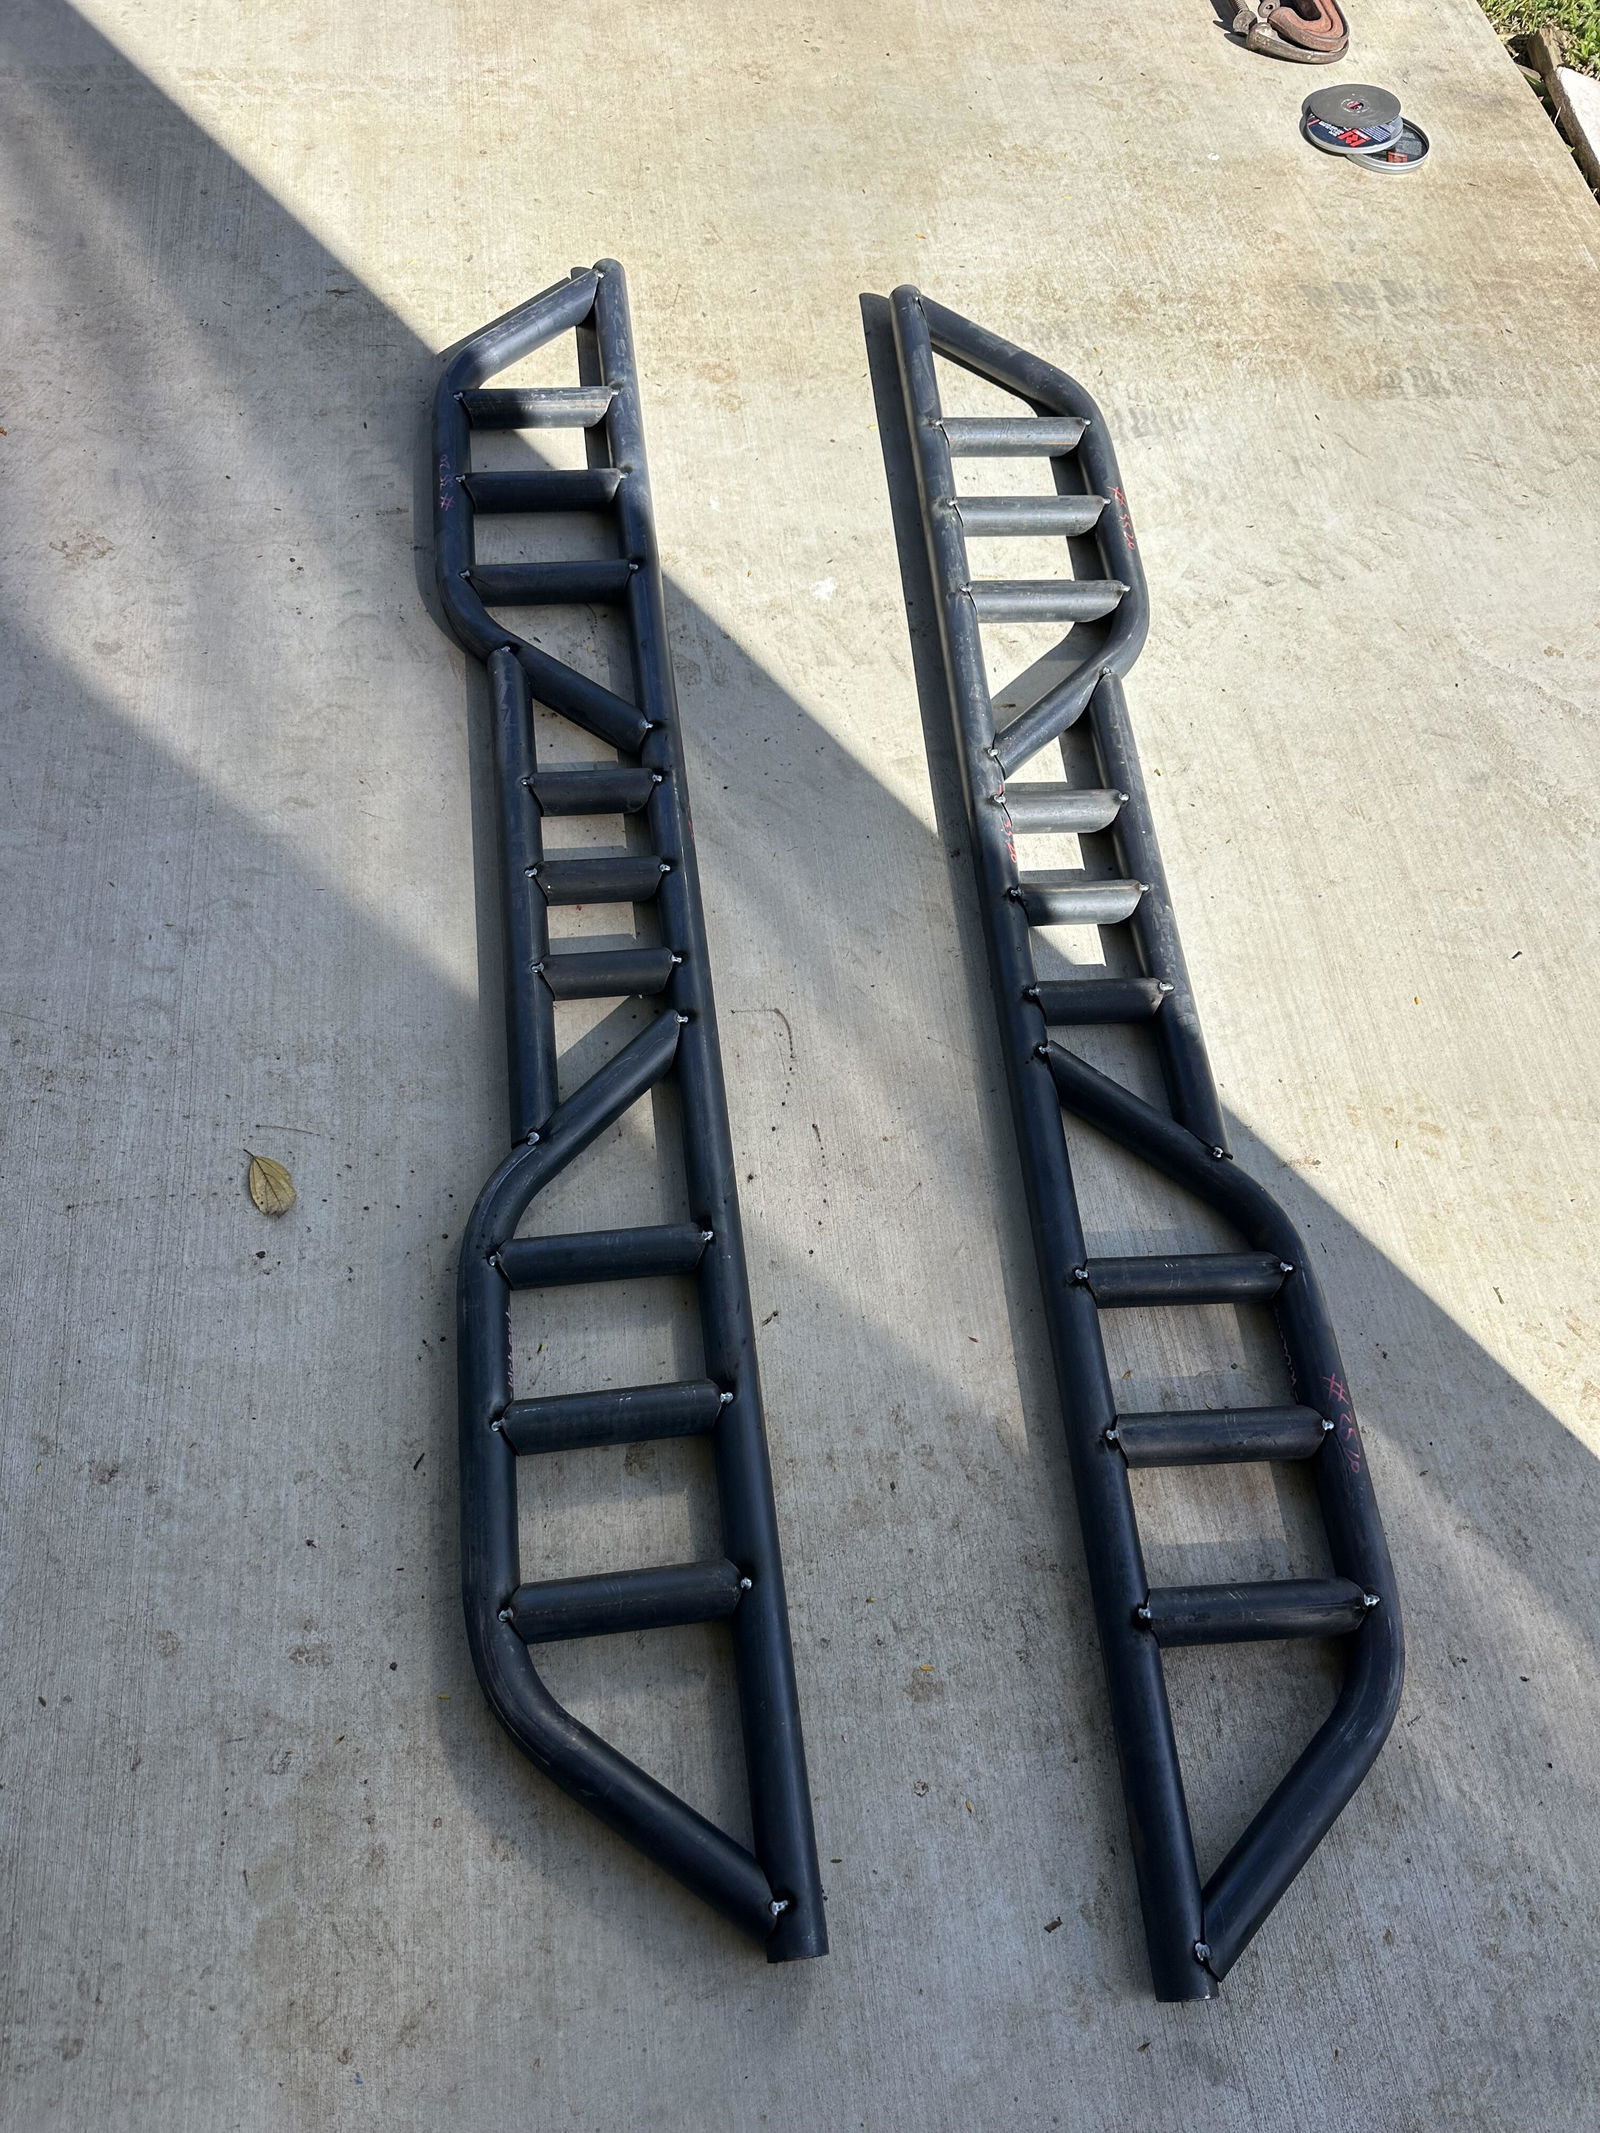
- Let it cool down, then look along the rails to check they're straight.
Never welded before? Practise on scrap pieces of the same tube first. Lots of first-timers tack the sliders themselves, then ask a mate who can weld to do the final welds.
Step 5
How do you make the chassis mounts?
The mounts hold all the weight, so take your time here. There are two main types.
Clamp-on mounts (bolt-on)
- A bracket goes on each side of the chassis rail.
- A long, strong bolt goes through both and pulls them tight.
- Nothing gets drilled or welded on the chassis.
Weld-on mounts
- Steel plates are welded straight onto the chassis rail.
- The slider bolts to the plates.
- Very strong, but welding to a chassis has rules in Australia. Read the rules section first.
Here's how our universal clamp-on mounts go together:
- The brackets have long slots (100 mm). Slide the bolt up or down to match the height of your chassis rail.
- Move the brackets in or out to match how wide the rail is. Then cut the bolt to length.
- Slide two small plates onto the bolt like washers and weld them to the bracket. This stops the bolt sliding in the slot.
- Weld in the triangle gussets to make it stronger.
Reubs from Reubs Modification's built two sets like this with his mates. He said the slots let you "clamp them around the chassis and shift the bolt up and down depending on the height of your chassis."
Step 6
How do you set the height and angle of rock sliders?
This is the fun part, where you make them yours.
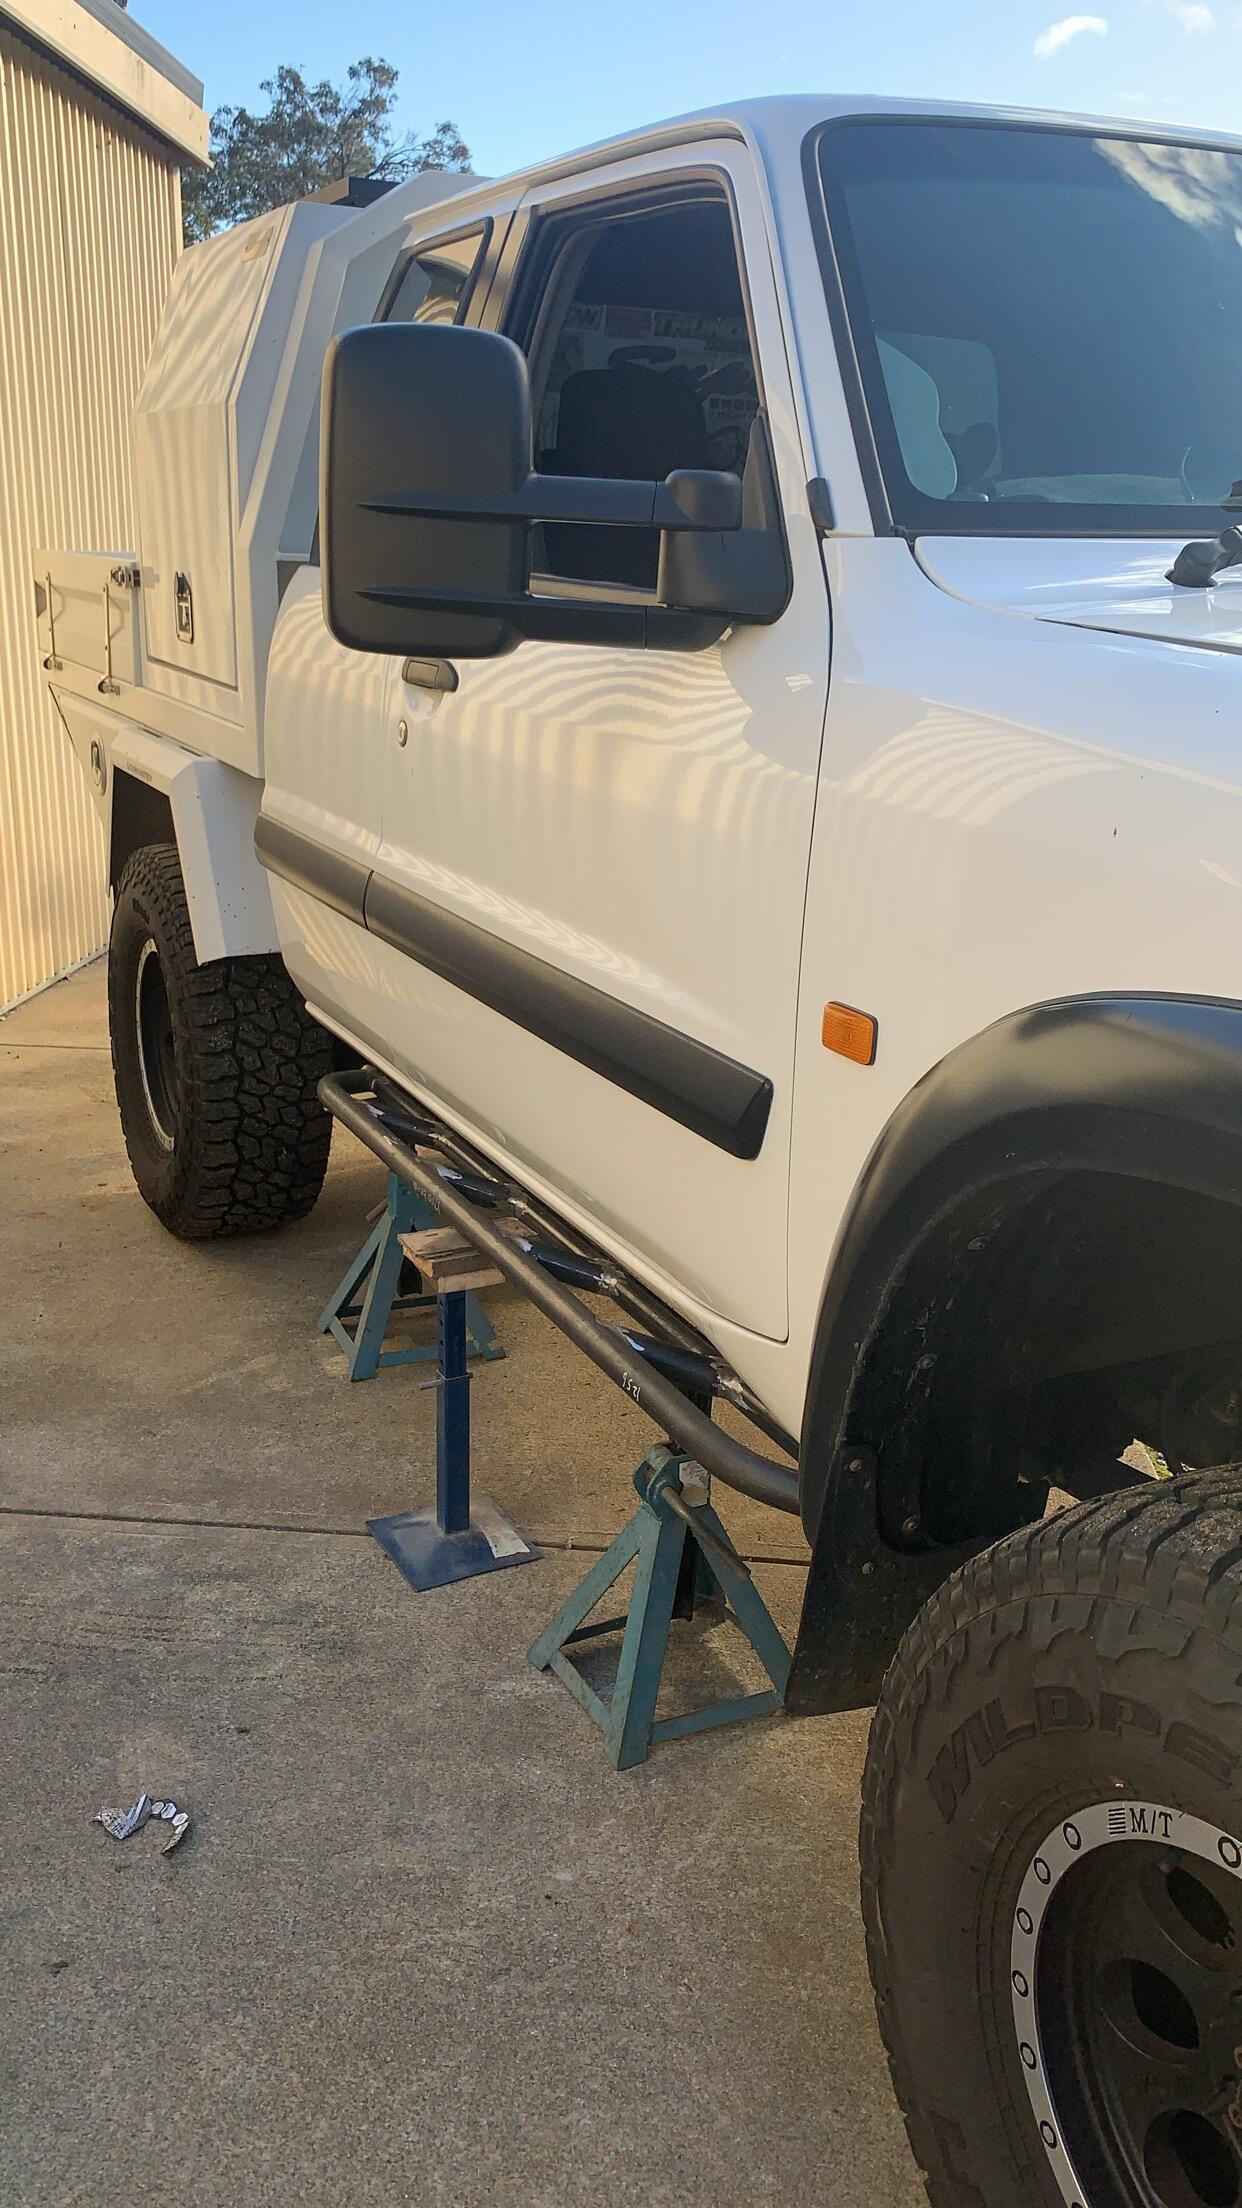
- Sit the slider under the car on three jack stands.
- Line it up with the body line under the doors.
- Choose how far out you want it. Tucked up close gives more clearance. Further out and flatter makes a handy step.
- Use your angle finder so both sides match.
- Measure from the slider to each mount. Cut the legs to length and notch the ends.
- Tack the legs on, take the slider off, weld everything out, then add the gussets.
Tip: If something is in the way, like a body mount or exhaust hanger, move the mount along the rail or make a different mount. Reubs had to do this for the front mount on a GU Patrol.
Here's his build, with an LN65 Hilux and a GU Patrol done side by side:
Step 7
How do you paint and fit your sliders?
- Weld an end cap over every open tube end, then grind the weld smooth so it's ready for paint. A flap wheel gives the best finish.
- Go over any sharp edges and rough welds with the flap wheel too. Paint sticks better to smooth steel, and sharp edges aren't allowed (see the rules below).
- Bolt them on and tighten everything.
- Check the bolts again after your first trip.
Your paint choices:
Cheap and easy to touch up.
A much harder finish. You need a spray gun and a mask.
The toughest. A powder coater does it for you.
Tarah painted hers by hand and recommends powder coat, because painting all the edges is fiddly.
What are the rules for rock sliders in Australia?
American guides can't help you here. Australia doesn't have one rock slider law for the whole country. Here's what to know:
- Each state has its own rules. Most follow a national guide called VSB 14 (the National Code of Practice for Light Vehicle Construction and Modification).
- Welding or drilling the chassis is the big one. Changing a chassis can need an engineer's certificate, depending on your state. Queensland, for example, has special certification for chassis changes. Clamp-on mounts don't drill or weld the chassis.
- No sharp bits sticking out. The rules don't allow dangerous sharp edges or points on a car (the national design rule is ADR 92/00, and states like South Australia explain it). Weld end caps on your tube ends and grind everything smooth.
- Insurance. Tell your insurance company about any changes to your car. If you don't, they might not pay out on a claim.
This isn't legal advice, and rules can change. Before you weld anything to a chassis, check with your state's transport department or a certifying engineer.
How long does it take to build rock sliders?
- It depends on how good you are at welding, and on your car.
- The slider frames go together quite quickly.
- The mounts usually take the longest, because every chassis is a bit different.
"The universal mounts took us a bit longer than we'd originally allocated so give yourself a bit of time to get those set up for your chassis."
Reubs, Reubs Modification's, after building two sets
Are DIY rock sliders strong enough?
Yes, if they're built and mounted well. The strength of DIY rock sliders comes from three things:
- The tube. Use proper steel tube, the same size for the rails, infills and legs.
- Your welds. Full welds all the way around every joint, not just tacks.
- The mounts. How well they hold onto the chassis. This is where most of the load goes.
Take your time on the welds and the mounts, and ask an experienced welder to check your work if you're unsure.
Real builds from Aussie 4WD owners
Here's what each step looks like in real sheds and driveways around the country. These photos come from customers who built a set and sent them in.
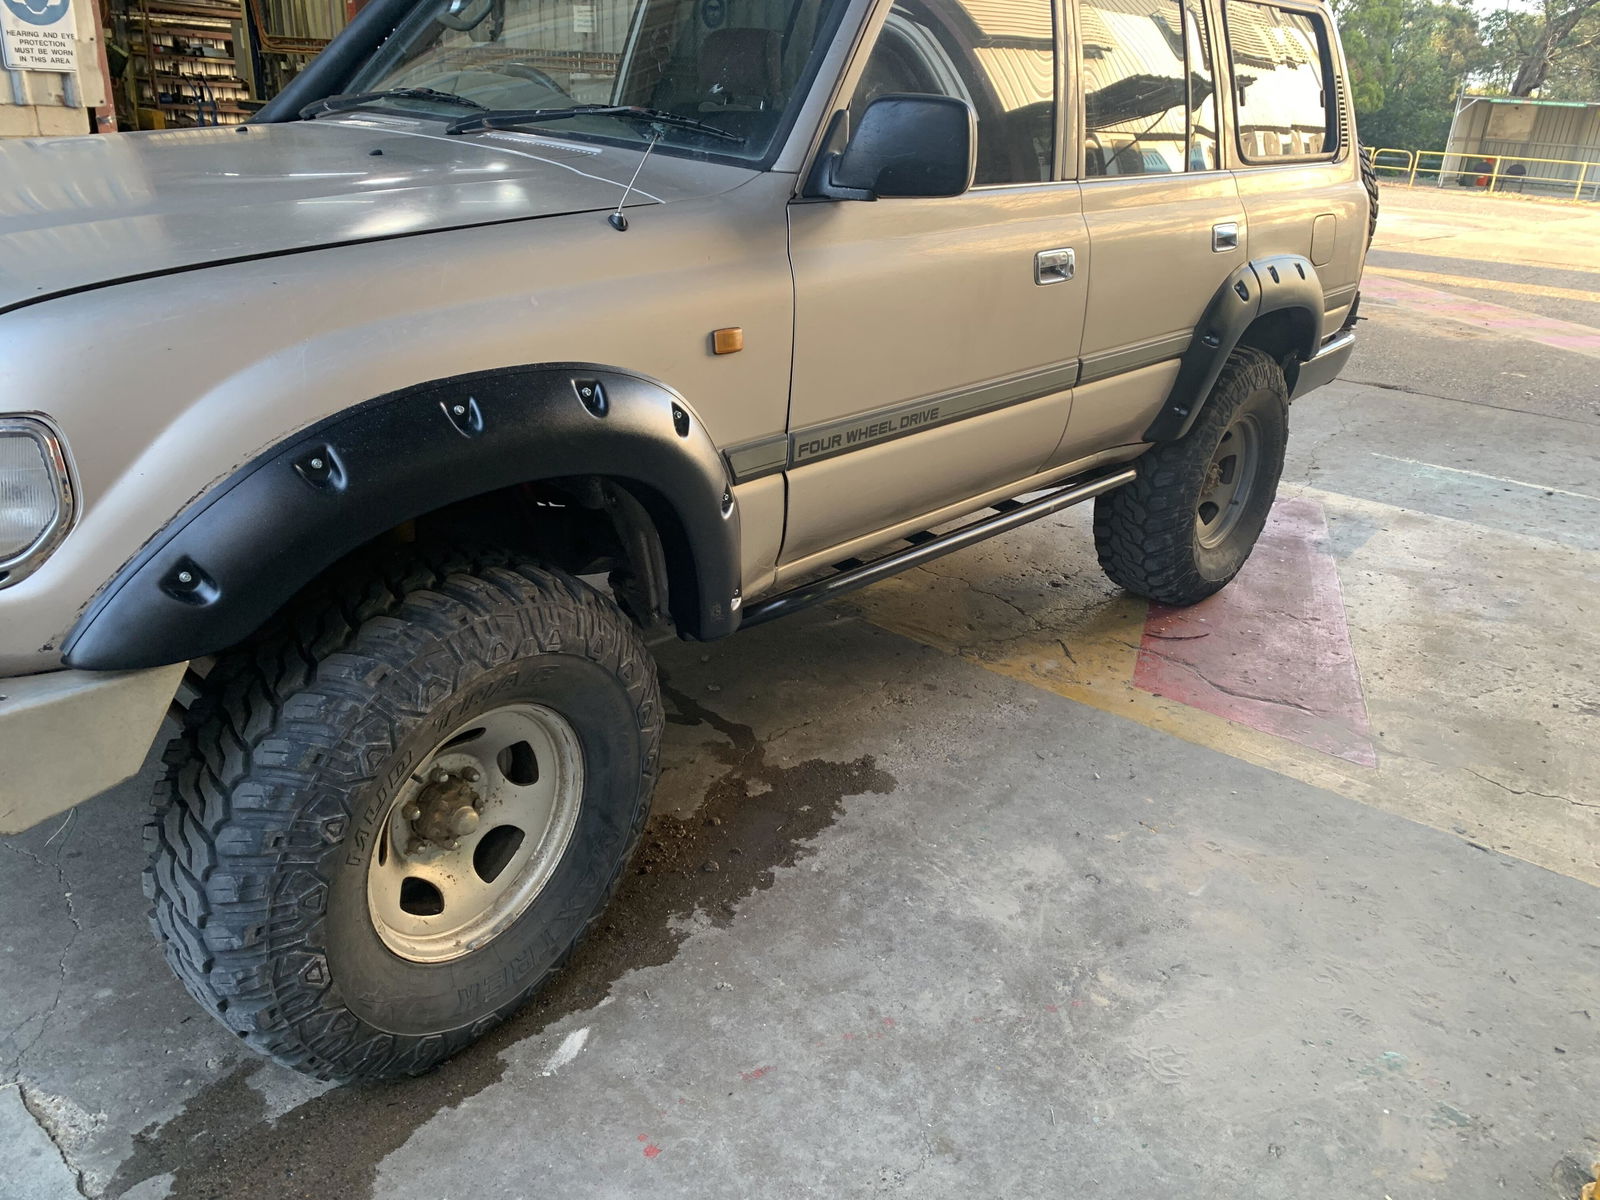
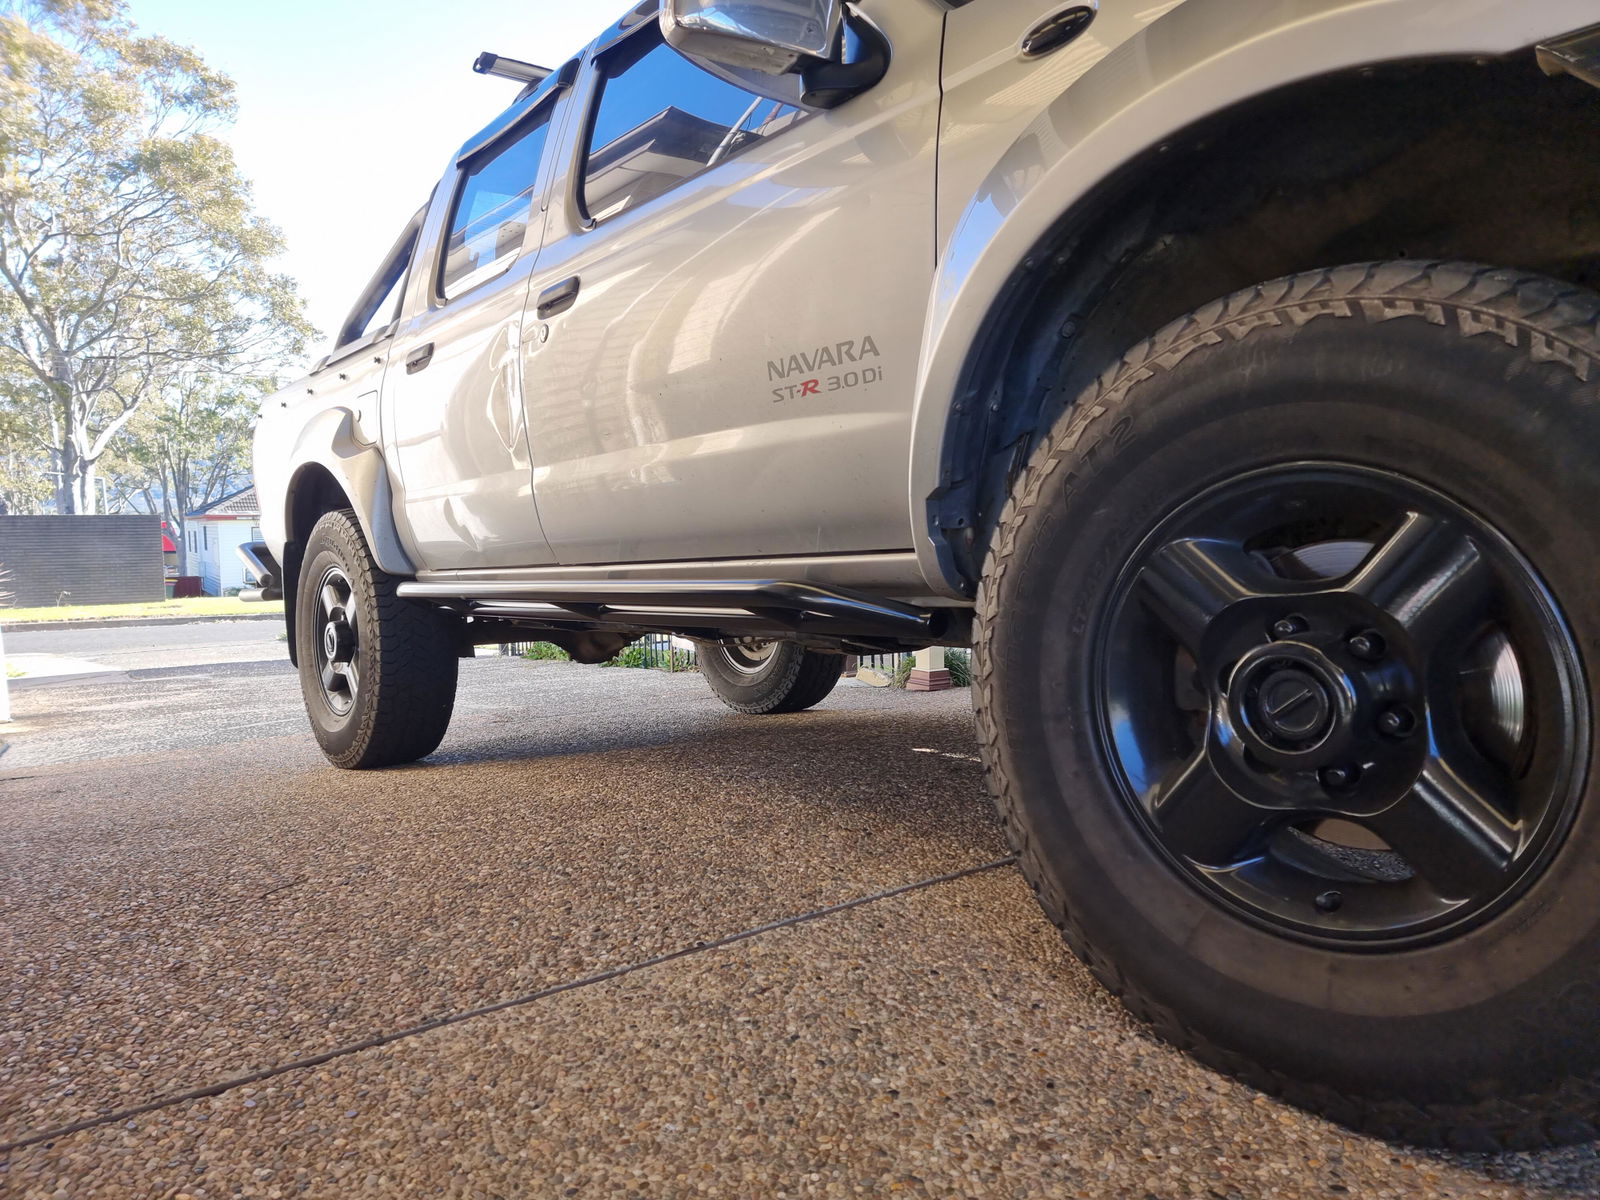
Made in Vineyard, NSW
Want the bending and notching done for you?
We cut, bend and notch rock slider kits for Aussie 4WDs. You do the welding. Both sides from $255 (mounts extra).
See the kits